We’ll go over different installation techniques for the Wavlink Aerial HD4 outdoor extender in this article, depending on your usage and needs.
A dual-band wifi range extender, the Wavlink Aerial HD4 outdoor Extender. The dead zone at your location will be removed thanks to the high-power amplifier in it.
The Wavlink Aerial HD4 Outdoor Extender Setup can operate at speeds of up to 600 megabits per second in its fastest configuration. We’ll walk you through the Wavlink AC1200 setup and Wavlink Aerial HD4 outdoor extender setup processes on this page.
How to setup the Wavlink Aerial HD4 AC1200 Extender in Repeater Mode?
One of the most straightforward configuration methods is to set up your outdoor extender in repeater mode. The steps listed below should be followed to complete the Wavlink Aerial HD4 outdoor extender setup in repeater mode:
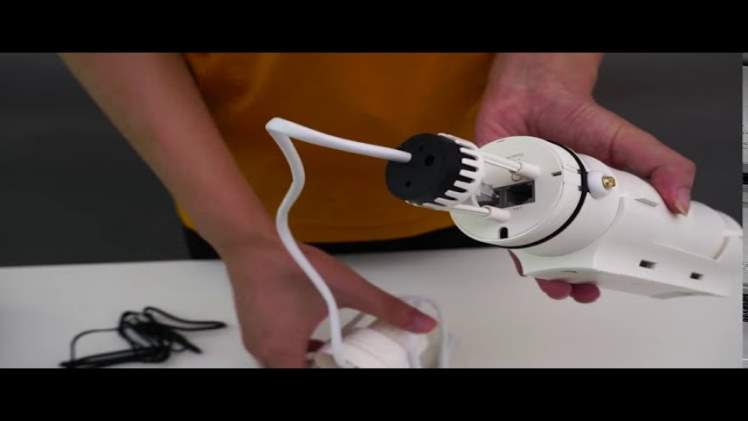
- The Aerial HD4 POE connector needs to be connected to a power source first.
- Once the AC1200 has a solid green light, connect the ethernet cable from the POE to the extender.
- Take any wirelessly capable device, like a laptop or a phone, out of the room.
- Additionally, check the wireless settings option for the network name WAVLINK-N.
- Launch an Internet Explorer-compatible web browser after connecting to the default network like Safari, Mozilla Firefox, and Google Chrome.
- Now type 192.168.10.1 or ap.setup into the URL address bar.
- Now you will reach the setup page for the Wavlink Aerial HD4 outdoor extender.
- Use the “admin” default password to sign in.
- On your current WiFi network, the Wavlink Aerial HD4 AC1200 has now been successfully set up as a repeater.
Installation Process for Wavlink Aerial HD4 Setup
Install the Aerial HD4 outdoor extender AC1200 in router mode by first performing the following steps:
- Start by plugging the Wavlink AC1200 connector (POE) box into an electrical outlet.
- Ethernet cable from the POE box should be connected to the Aerial HD4 extender.
- The other Ethernet cable should then be connected to your primary router or modem using the same connector box.
- Right now, join any of your wirelessly capable devices to the WAVLINK-N network.
- Open a web browser and go to wifi.wavlink.com after connecting.
- You have reached the configuration page for the AC1200 outdoor extender.
- Use the “admin” default password to sign in.
- Give your booster a distinctive name and choose the “Router” option.
- Put WPA2-PSK in place of none for the security ( recommended ). Click “Next” after you have entered your extender’s password.
It has now been successful to set up the Wavlink outdoor extender in router mode.
Reset procedure for Wavlink Aerial HD4 AC1200 Wifi Extender
You must perform a factory reset on your booster if you lose your admin username or password and want to recover it. When you Wavlink AC1200 Reset , it will clean up all of your personal data, including passwords, usernames, and SSIDs, to get your extender ready for a fresh setup process. It takes a hard pointed object, like a paper clip or a needle, to finish the factory reset procedure.
Take the following actions to reset the Wavlink AC1200 Aerial HD4:
- Connect your Wavlink AC1200 to a power source.
- Underneath a tiny hole on the side panel, find the factory reset button.
- Push the reset button for 8 to 10 seconds using a paperclip.
- It will restart automatically after a brief period.
- The new installation procedure can now be started with your extender
You can contact us by calling our toll-free number or by live chat if you still need assistance with your Wavlink AC1200 Aerial HD4. We are available at all times to assist you and find a solution.
How can your Wavlink AC1200’s firmware be updated?
To fix any problems (whether it is not providing the required speed or something else) that you might experience while using your extender, you must update the firmware on your Wavlink AC1200. It includes new security features in addition to other new features that will help you solve your problems.
Observe the directions below to update the firmware on your Wavlink AC1200:
- Firstly, the Wavlink Aerial HD4 should be turned on.
- Visit Ap.setup on your web browser.
- After selecting settings, tap on firmware upgrade.
- Follow the instructions to complete the firmware update operation.
- Don’t unplug the booster during the one-minute wait.
This is how to update the Wavlink AC1200’s firmware.